=> Official Update 46 Kickstarter
=> Official Update 25 Gamefound (should be the same)
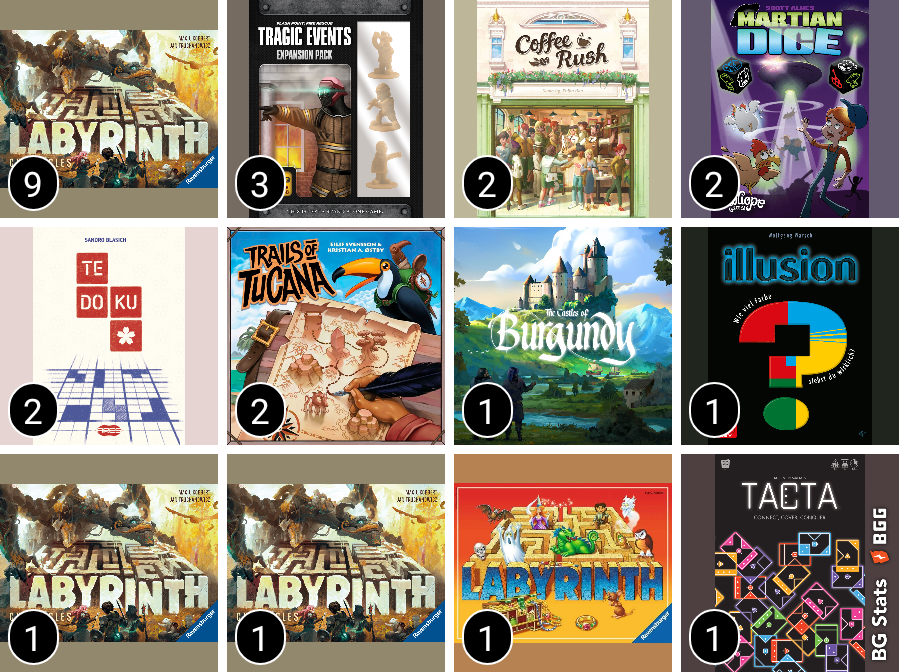
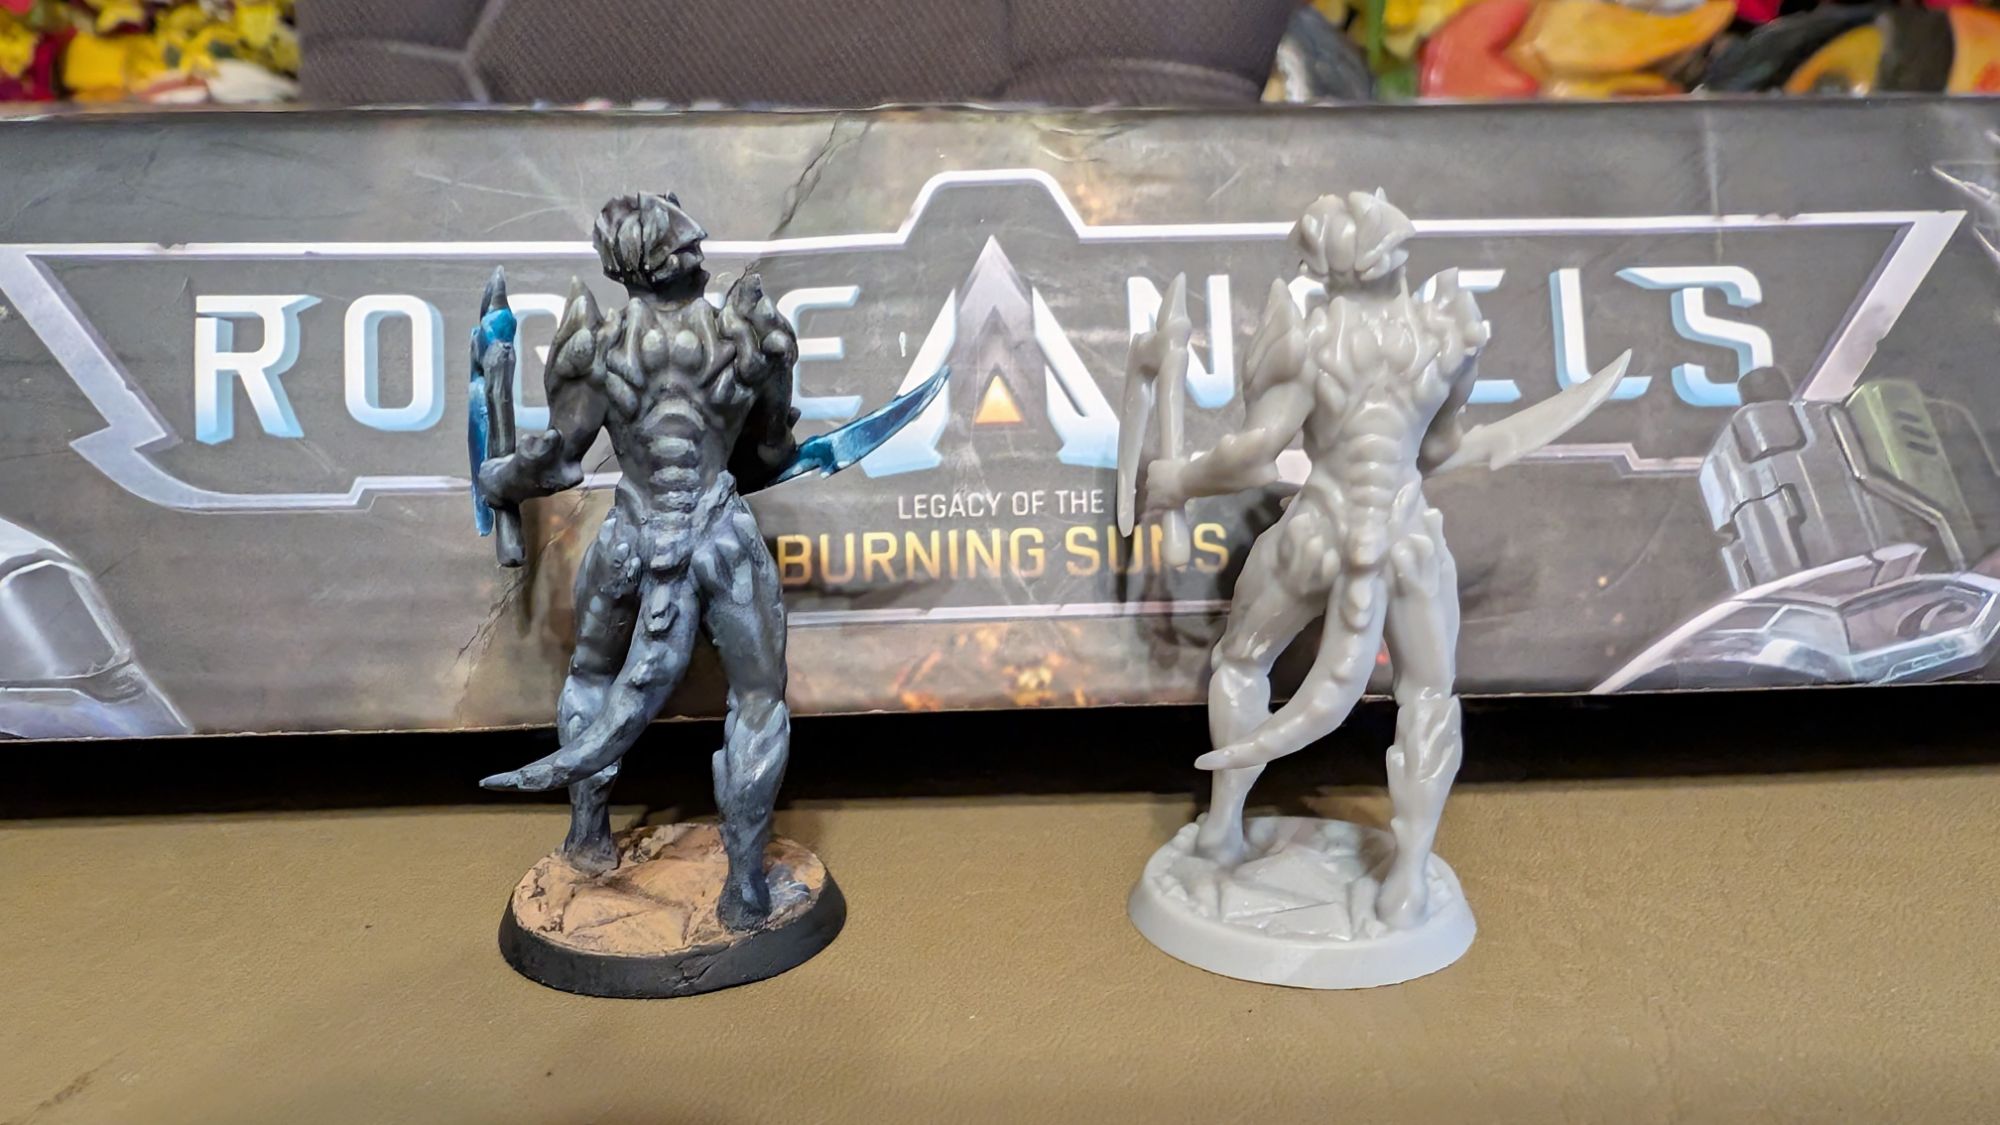
[unofficial quick note from Len: if anyone likes painting miniatures, I can provide you with a free copy of the game if you’d like to paint my prototype miniatures. See more here=> Miniatures page ]
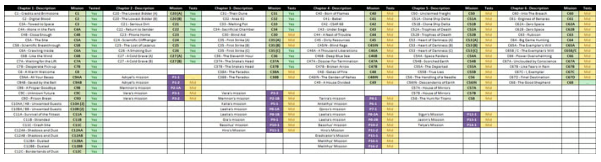
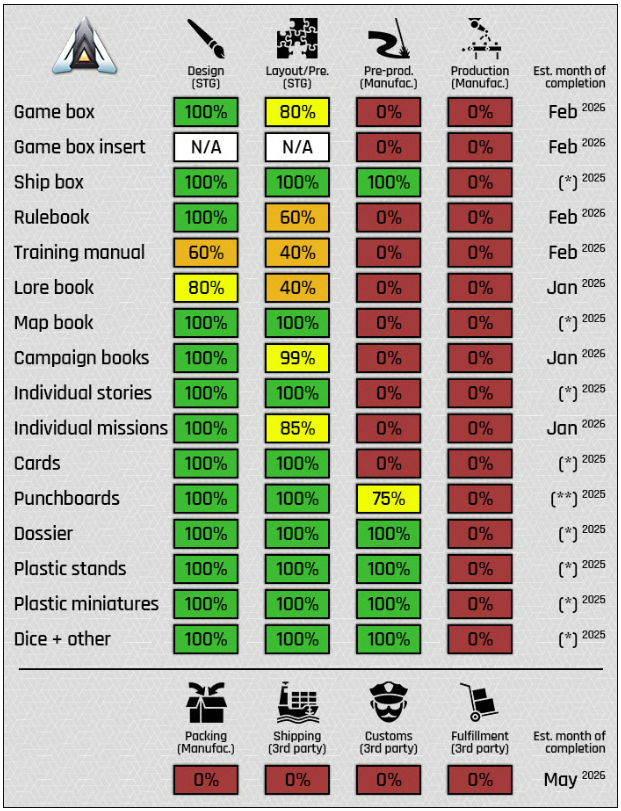
Here is the end of October Timeline for the game production:
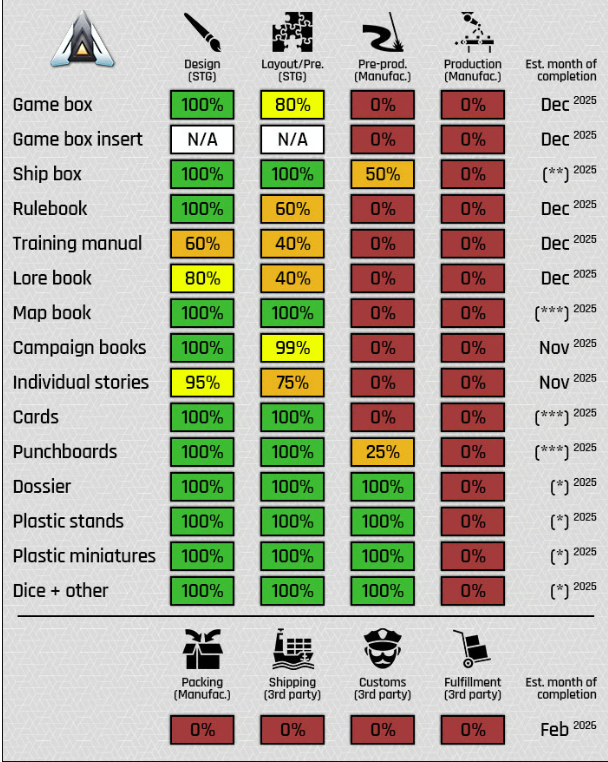
- (*) Pre-production done. These will enter production alongside the rest.
- (**) Pre-production underway at manufacturer.
- (***) Awaiting pre-production at manufacturer.
Highlights:

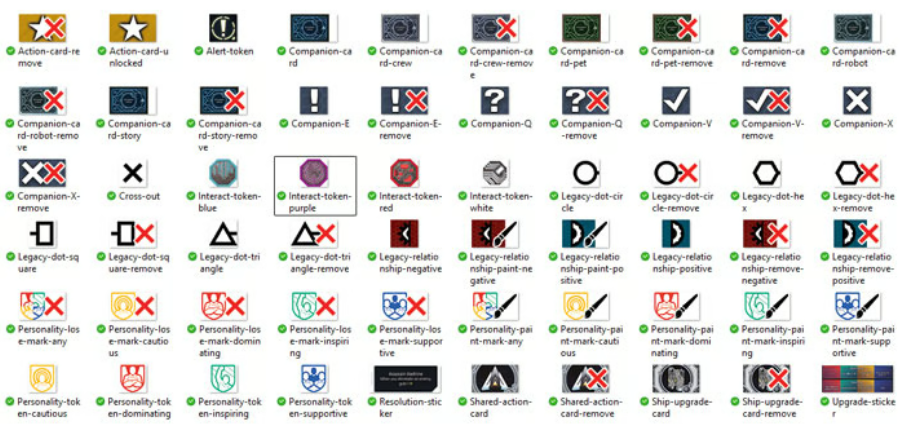
Emil continues working on correcting errors and aligning dialog and other odds and ends in the over one thousand pages. And now he also has added more reminder icons that will help player’s memories while reading instructions throughout the campaign!

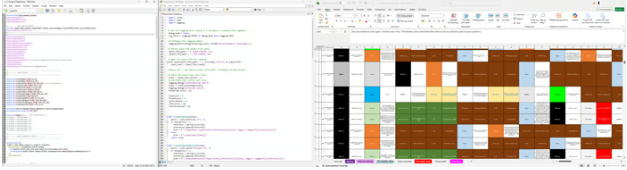
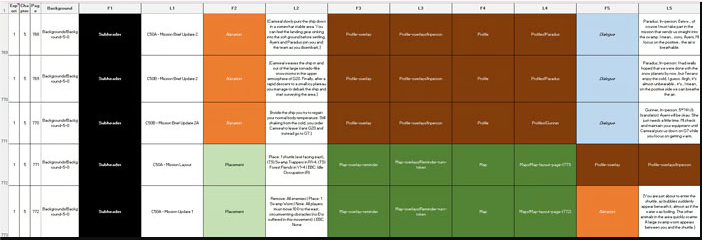
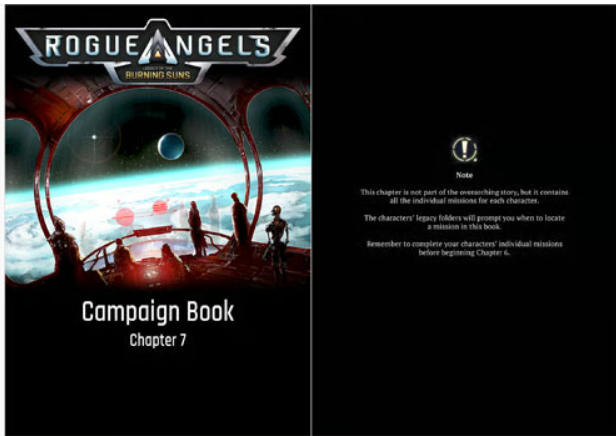
Emil adjust the parameters for his large Excel -> Python -> LaTeX setup for the campaign books, to work for a smaller copy for the Legacy Folders. And right now 14 of the 16 Legacy folders are completed. Many screenshots of this process are included in the official update!

Emil talked with Lisa and Martin a few times. They can hardly wait to hear what you think about the experience with the characters as a whole… Joggling the characters’ interests, insecurities, hopes and grudges with the grand narrative… Players debating when to deal with personal challenges, and when to push on for the greater good.

Having skipped last year’s SPIEL, it was fun being back again. Emil thoroughly enjoyed it, and every single meter he walked in the hallways was spent promoting the game ;) (yes, he was wearing a Rogue Angels game box as a backpack).
OTHER LANGUAGES TRANSLATION notes from Emil:
I also met up with a collaborator, who I have been talking with for over a year. We are now doing some small translation tests for Rogue Angels. It will be a huge task, but with the streamlined Excel approach, it will not be insurmountable.
I have also been contacted by other interested publishers, and once I have a clear proof-of-concept on the process of translating all this, I will have a way forward to expand Rogue Angels to non-English speaking players.

Emil also met up with his project manager from MagiCraft at Spiel. He got some material tests and talked about a few updates to the production.

Emil did not want to promise this during the campaign, but the 8 dice will be engraved like you see on the right, with the respective colors (on the left). He also got to text out examples for envelopes for the dossier and found some that could hold everything. Here is the photo he included for this:

1 Character sheet, 1 Legacy Folder, 2 sticker sheets, 11 sleeved action cards.

Emil only pulled off a few play tests in October since he was so focused on the individual stories, SPIEL and time off for a vacation with his family!
If you want to dive in yourself, just subscribe to the Rogue Angels mod here, and you will be set up for 40+ hours of (I hope) entertainment :)
You also are invited to join any of the November tests here (all times are GMT+1)
- 3rd November, Monday, 21:00 (GMT+1)
- 6th November, Thursday, 21:00 (GMT+1)
- 8th November, Saturday, 20:00 (GMT+1)
- 11th November, Tuesday, 21:00 (GMT+1)
- 14th November, Friday, 22:00 (GMT+1)
- 19th November, Wednesday, 21:00 (GMT+1)
- 23rd November, Sunday, 19:00 (GMT+1)
- 25th November, Tuesday, 21:00 (GMT+1)


Emil still has some promo materials left (such as business cards and A5 handouts with artwork). If you want to spread the word… or if you have a board game cafe or club that would the right place or promote Rogue Angels please let Emil know and he can send you some cards. (let him know in the comments for this update on Kickstarter or Gamefound).

Emil is shifting some game allocations saved for retailers over to regular backer pledges, so retails who would like more extra copies should let him know now! Note that the retailer edition is the same as that sent directly to backers. Nothing changes for anyone who already pledged! Meanwhile, there still are a few copies of the game that have not been pledged to someone, so go to Gamefound now to Late Pledge for one before they are gone!