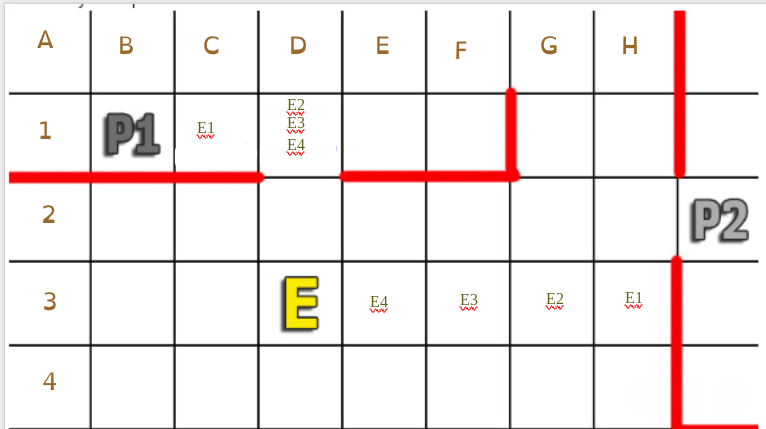
REMINDER: Enemies always go First after a Mission Update!

When you start a new main Mission (such as Mission C7A) you chose which of the heroes on your team will go first and the enemy goes after that.

HOWEVER … often (always?) when you complete a mission, you turn the page in the Campaign book and there is a Mission Update. If this update is a continuation of the current mission, then the Enemy will go First… ALWAYS.

The final game will have a reminder about this at the top of every applicable Mission Update!

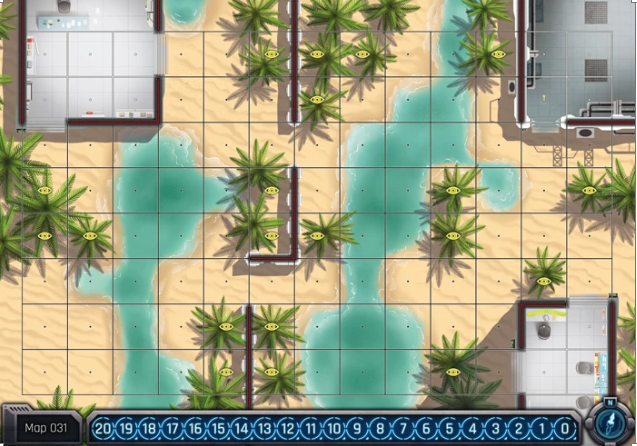
A look at how I get ready for a new mission (and my mistakes)

I had a much better video planned out in my mind, but most of it blanked out as I was recording the real video :)  I didn’t explain why the enemy going first would have been much better the way I was thinking of setting things up (that oil barrel at the far right would have not only taken out two Yellow enemies but also badly damaged the red2 that moved next to it! I also didn’t explain “same trumps nearest” and might make a separate video about that!

The only real spoilers here are seeing the map and seeing the mission setup page in the Campaign book (and I forgot to explain the success criteria … that only Yellow 1 and 2 need to be destroyed to succeed).

If you don’t mind seeing the map and mission ahead of time, I do some explaining of how things work to help with planning for a mission! Here is the first video (followed by my Part 2 video where hopefully I am setting things up properly and I have new improved plans for Strategy and Tactics!):

Next watch my new improved strategy and tactics in Part 2:

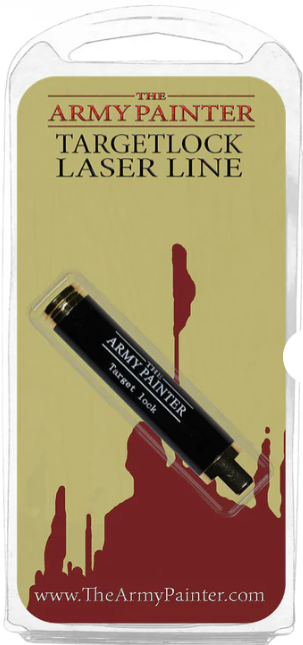
TargetLock Laser Line pointer

While playing Rogue Angels, I often use the TargetLock Laser Line pointer from The Army Painter (who also is based in Denmark, just like Rogue Angels is based in Denmark). Here is a direct link to the Laser Pointer that I got from them:

=> Target lock Laser Line

This small device is great to see if one square on the map is in Line of Sight of another square! Simply push the button on the pointer and hold it to shine the laser line across the map and see if the two small dots in the center of each square have direct access or if a wall or obstacle blocks the Line of Sight.

Same trumps Nearest (Enemy behavior)

IMPORTANT UPDATE! I checked with the Game Designer (thank you Emil). See the update IN RED inside the following article:

This is a quick short article regarding one aspect of the enemy behavior that can be used to our advantage! [update: only sometimes] Page 38 of the rulebook states that after moving towards one of our heroes, any attack that specifies “Same or Nearest” will always could be “Same” because, as the rules say:

Same “attackable” trumps Nearest

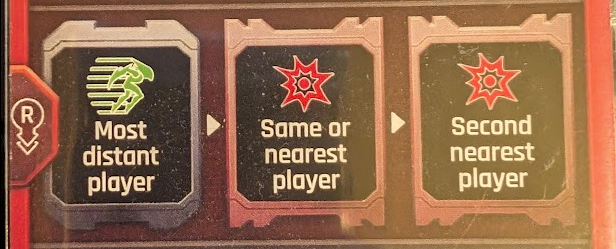
We can use that to our advantage with an enemy that is dangerously close to one of our heroes. For example, this Enemy Behavior:

If the enemy behavior is to first move towards the “most distant” hero and then attack “Same or nearest”, we know that first the enemy will move away from a nearby hero (phew) towards a more distant hero. And then when attacking it will attempt an attack against the “same” hero, and with some luck (and planning) that more distant hero will be out of range and the enemy will attempt an attack on the distant hero (unsuccessfully) and the nearest hero won’t be targeted at all. This is especially important if the enemy gets to attack twice after moving and the second attack targets “the second nearest hero”… thus the nearest hero escapes unharmed (and untargetted) but ONLY IF that same hero is “attackable” (ie, within LoS and attack range).

UPDATE: “same” in this case should be referred to as “same attackable” … it only can be the “same” **IF** that same hero is also in attack range! If it is out of attack range, then the behavior switches and attacks the “nearest”. (It was fun while it lasted:)

Memnon – For REAL!

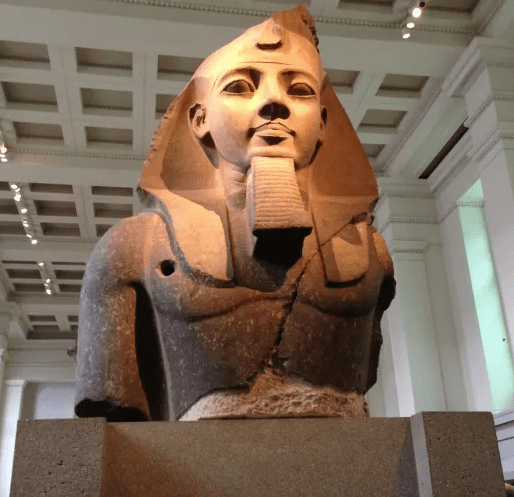
In my younger days, I liked science, math and science fiction. History seemed boring (as it was presented to me). Now, in my later years, I am finding out that history can be quite intriguing and exciting! Take one of the heroes in Rogue Angels for example:

Memnon

I actually am in the middle of a campaign where he is on my Heroes Team (along with Laelia).

So, it was exciting (for me anyway) to find out that there really was a “Memnon” in ancient history!

When I am not playing games, I have several other projects, including creating an online index to the art included in the Word on Fire Bible. Working on this index really bumped up my appreciation for both the art (from over the centuries, even millennia) and its history! I finished indexing the first two volumes (with over 100 works of art indexed, including photos, videos and articles). I am working on the third volume right now and on page 260 the work of art was a statue of the “Younger Memnon”!

Wow!

For your quick reference, here is the index page for that work of art:

=> The Younger Memnon

You can compare the image of Memnon in Rogue Angels with the image that is referenced on page 260 in The Pentateuch volume of The Word On Fire Bible:

2500 Different Hero Teams

Rogue Angels is a wonderful game for Solo play!

True! I know from my own experience playing on my own. It is intriguing as well as interesting. It is strategic and tactical yet luck plays it’s own hand in the game as well.

It would have been great if it only came with just four heroes to choose from. But Emil (the main designer) made it extremely extravagant. He elegantly expanded the game to provide SIXTEEN well balanced heroes to choose from!

If you play the game solo, you need to control two heroes. This was not a problem at all in my experience since the game plays so smoothly.

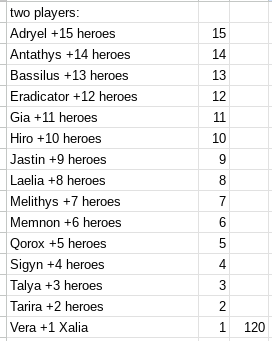
But look at the variety available to a solo player (as well as to a two player game). Look at the number of combination of two heroes that you can make:

If you start with Adryel, you have fifteen different combinations as you can match him up with each of the remaining 15 heroes.

Continue reading “2500 Different Hero Teams”

Create a website or blog at WordPress.com

Up ↑